
Installing Media Server Applications on Synology
Learn how to install sabnzbd, transmission, jackett, sonarr and radarr via docker on your Synology NAS
full course- What are the Media Server Applications?
- Prepare Synology for Media Components
- Sabnzbd Prerequisites
- Install the SABnzbd Container
- Configure SABnzbd
- Install the Sonarr Container
- Configuring Sonarr
- Installing Jackett
- Installing Transmission with OpenVPN
- Adding Bittorrent to Sonarr
- Create a Radarr Container
- Configuring Radarr
We’re almost there! Lets configure Radarr quickly so that we can download movies.
General Configuration
Settings/Media Management. Click Show Advanced. Check Rename Movies. Hit Save Changes.
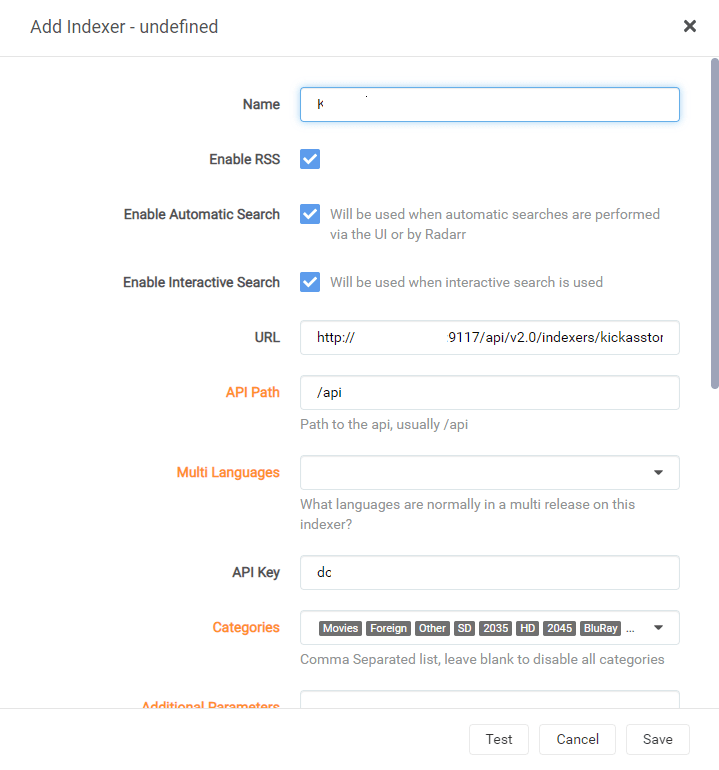
Configure Indexers
This is almost exactly the same as sonarr. I’m just going to cover this with screenshots.
Sabnzbd

Bittorrent
Configure Download Clients
Click the menu item for Download Clients. Again, this is almost the same as Sonarr.


And make sure to add the Remote Path Mappings

Security
I also recommend setting a username and password, especially if you want to access this outside of your network via reverse proxy. That is under Settings/General. Scroll down to Security. I prefer form login page, add a username and password.
Import Existing Movies
Click on the Movies menu item. Click the Import Existing Movies button.

Click Start Import

Navigate to your movies directory. This will be your internally mapped /completed/movies directory, which should be /movies.

Now Select the /movies directory form the import page.

Radarr will then start processing your movies. When it has finished finding all of the movies click Import Movies.

You should see events popping up in the lower left. Wait until all of your movies have completed before moving on

If you have a REALLY large library. I recommend stopping processing occasionally and importing periodically.
Verifying
Lets try and download some movies. Open up Movies/Add New from the menu. Search for a movie and then click on the link. If you have multiple movie folders, pick the correct one from Root Folder. Choose a Quality Profile from the dropdown, make sure that Start search for missing movie is checked and hit the Add Movie button.
If you click on Activity/History you should see your movie queued up. Hover over the cloud download icon and it will tell you which download client is handling the request.
You can also manually pick a source by unchecking Start search for missing movie before hitting Add Movie. Go back into the movie page and then choose the Search tab

Now choose the file you want based on the download client. Click the Add to download queue button on the right.
0 comments on “Configuring Radarr”Add yours →